top of page


THE LIFE BOX DURING THE COLD WAR
Introduction
I have designed a malty-functional life box. Most parts of this item are hard edge models. For decreasing the pressure of CPU and GPU in rendering, I did the mesh cleaning work to reduce the number of faces before I textured and painted it.
1. Firstly, I put the reference images into Maya

2. I made the box body by modeling a cube and digging some holes by circularize tool and extrude tool in maya.

3. At this step, I modeled the digital screen which can be controlled by knobs around it. I used cube for the main screen body and three half spheres for the signal lights. For the knobs, I used the extrude tool to model them from one cylinder.
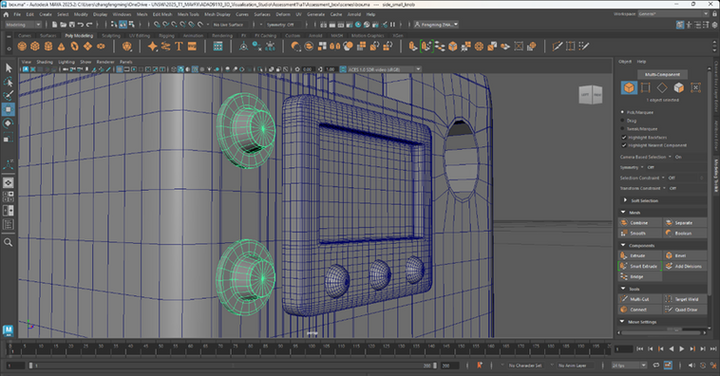
4. I also made two batteries which referred to normal AA batteries.
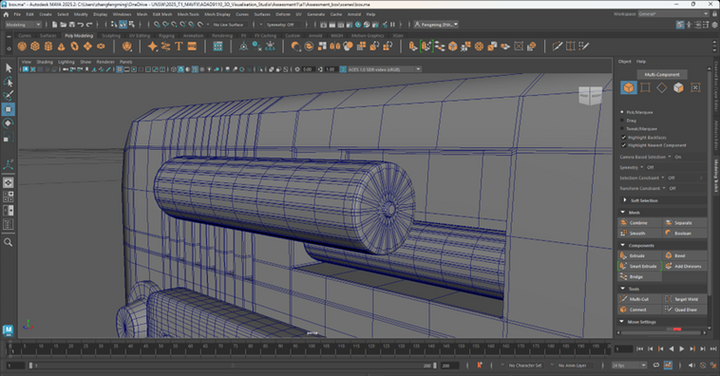
5. The handlebars on the top and the left side can be used to lift the box up in different ways as the users like. These two parts are separate, I used the EP curves tool to draw the shape of the handle. Then I used the sweep mesh tool to generate the poly model.

6. The thermometer can detect the temperature range from -50 degree centigrade to 50 degrees centigrade. It could not be accurate, but it should be clear for survivors to know the approximate temperature immediately.

7. For the torch holders, I used the same method as I modeled the handles.

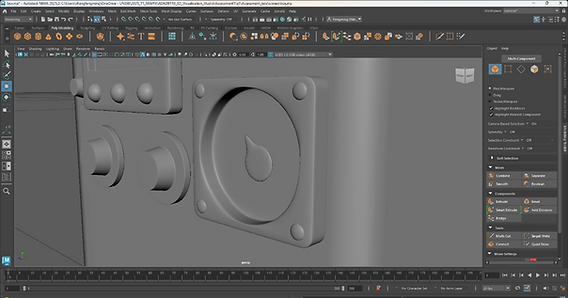
8. I divided the torch body into two parts, one is the body itself, the other one is the top glass part.

9. This part is for installing glass to both sides of the box body to support users looking through. To make the surface smooth, I created a half sphere with only eight divisions and deleted four central lines. Then I used the smoothy tool to make it smooth and mirrored it to make it look like a piece of glass.

10. I used the extrude tool to make the hand-crank generator and created edge-support lines for this part. Then I align the axis with the rivet which can be operated by survivors.

11. During the UV unwrapping, I cut the faces with angles more than or equal to 90 degrees manually to make the UV clean. Then I unfolded them and oriented all the shells. Finally, I used the layout tool to place them in order, which could improve UV space utilization in the first quadrant.

12. I painted vertex color to each material’s UV shell to separate them into almost 10 different materials and exported the model in FBX format from Maya and imported it into Adobe Substance 3D Painter for baking using vertex color.
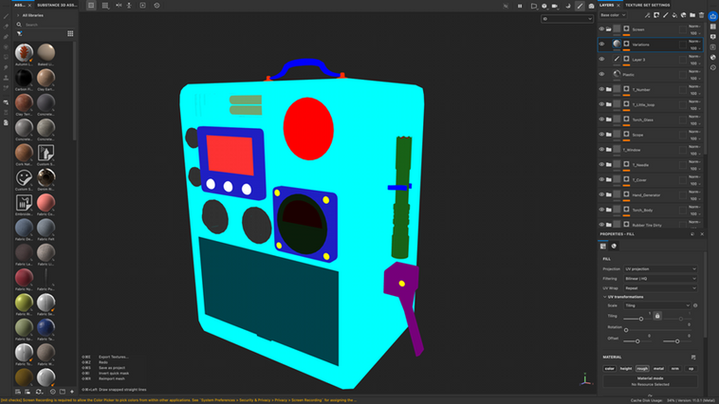
13. I created over thirty layers to paint different materials and texture them.


14. I exported the images from Substance painter which include ‘Base Color’, ‘Metalness’, ‘Roughness’, ‘Opacity’ and ‘Normal’. Then I imported them back to Maya and created ‘aiStandardSurface’ to link all these maps to my Model.

bottom of page